
The moment you take a bite of the creamy, decadent Cookie Butter Cheesecake Cups, you’re transported to a world of sweet bliss. This no-bake dessert takes only 30 minutes of hands-on time and ensures a delectable treat with minimal effort. Its satisfying blend of cream cheese and cookie butter creates a rich flavor that’s absolutely irresistible.
These cheesecake cups are perfect for any occasion, whether it’s a casual family gathering or a fancy dinner party. With their individual portions, they are easy to serve, and you’ll appreciate making them ahead; they set beautifully when refrigerated overnight.
Why You’ll Love This Recipe
- The smooth texture of the cheesecake filling melts in your mouth.
- No baking required means you can whip these up in no time.
- Individual cups make for easy serving and presentation.
- The cookie butter adds an irresistible depth of flavor.
What You’ll Need
Before you get started, here’s everything you’ll need to make these delicious cheesecake cups.
For the Crust
- 1 cup graham cracker crumbs (about 8 full sheets)
- 3 tablespoons unsalted butter, melted
- 1 tablespoon powdered sugar
For the Cheesecake Filling
- 8 ounces full-fat cream cheese, softened
- 1/2 cup smooth cookie butter
- 1/3 cup powdered sugar
- 1 teaspoon vanilla extract
For Topping
- 1 cup heavy whipping cream, cold
- 2 tablespoons cookie butter, melted
- Crushed graham crackers
- Mini chocolate chips
Use reduced-fat cream cheese if desired.
Substitutions & Swaps
- Use vegan butter for a dairy-free version.
- Swap cookie butter for almond or peanut butter.
- Swap mini chocolate chips for dark or white chocolate.
- Use digestive biscuits instead of graham crackers.
How to Make It
Let’s dive into creating these delightful cheesecake cups.
Make the crust.
In a small bowl, mix the graham cracker crumbs, melted butter, and 1 tablespoon of powdered sugar until it resembles wet sand. Divide this mixture evenly among 6 small cups or ramekins (about 3-4 oz each). Press down firmly with the back of a spoon to create a compact base. Place the cups in the refrigerator to chill while you make the filling.
Beat the cream cheese.
In a large mixing bowl, beat the softened cream cheese with an electric mixer until completely smooth and no lumps remain. This might take a minute or two. Scrape down the sides of the bowl. Add the 1/2 cup of cookie butter, 1/3 cup powdered sugar, and vanilla extract. Beat again until everything is well combined and creamy.
Whip the cream.
In a separate, clean bowl, beat the cold heavy whipping cream on medium-high speed until stiff peaks form. This means when you lift the beaters, the cream stands up straight and doesn’t droop. Be careful not to overbeat, or it will turn to butter.
Fold the whipped cream.
Gently fold the whipped cream into the cream cheese mixture. Use a spatula and a slow, sweeping motion to incorporate them without deflating the cream. Fold until no white streaks remain and the filling is uniform.
Fill the cups.
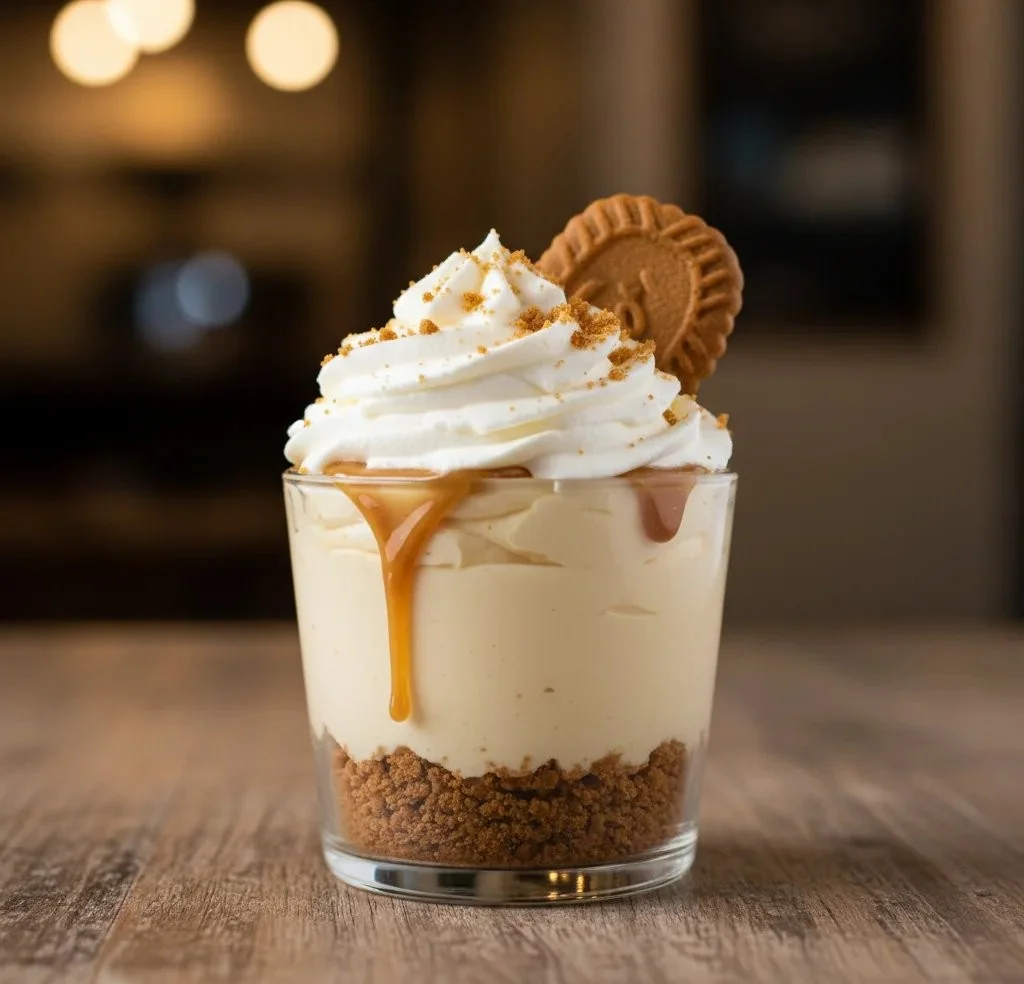
Remove the cups from the fridge. Spoon or pipe the cheesecake filling over the chilled crusts, smoothing the tops. For a fancy touch like a cheesecake taco, you can use a piping bag.
Chill to set.
Cover the cups loosely with plastic wrap and refrigerate for at least 4 hours, or preferably overnight, to allow them to set firmly.
Add toppings.
Just before serving, drizzle with melted cookie butter and sprinkle with crushed graham crackers or other desired toppings. Serve chilled.
How to Store It
Fridge: Store in an airtight container for up to 5 days.
Freezer: No, the texture will change after thawing.
Reheat: Not applicable as this dessert is served cold.
Tips for Best Results
- Ensure cream cheese is fully softened for easy mixing.
- Chill your mixing bowl and beaters for even better whipped cream.
- Don’t skip the chilling time; it allows the filling to firm up perfectly.
- Top with mini chocolate chips for a delightful crunch.
Serving Suggestions
- Pair with a warm cup of coffee or tea for a cozy treat.
- Perfect for birthday parties or holiday gatherings.
- Serve alongside fresh berries for added freshness.


Leave a Comment