
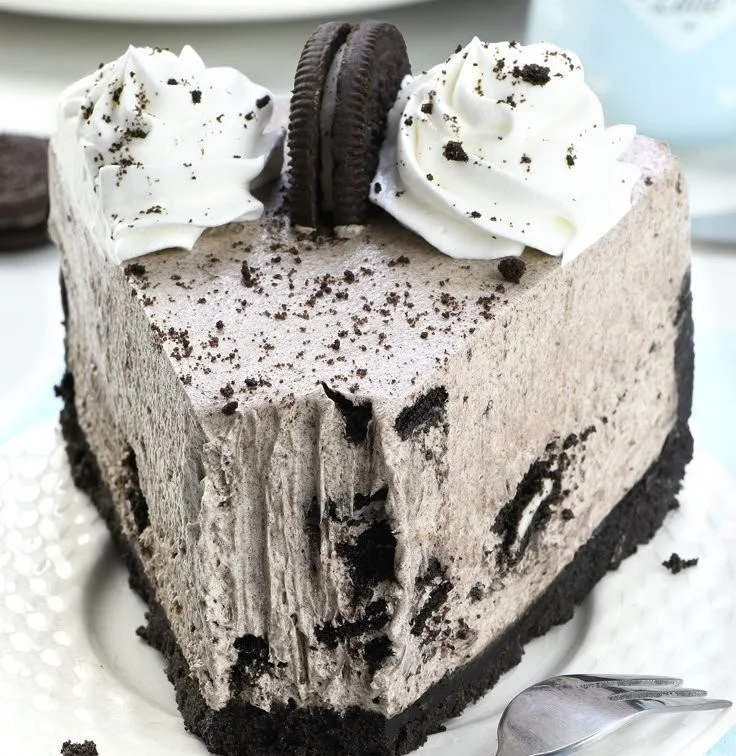
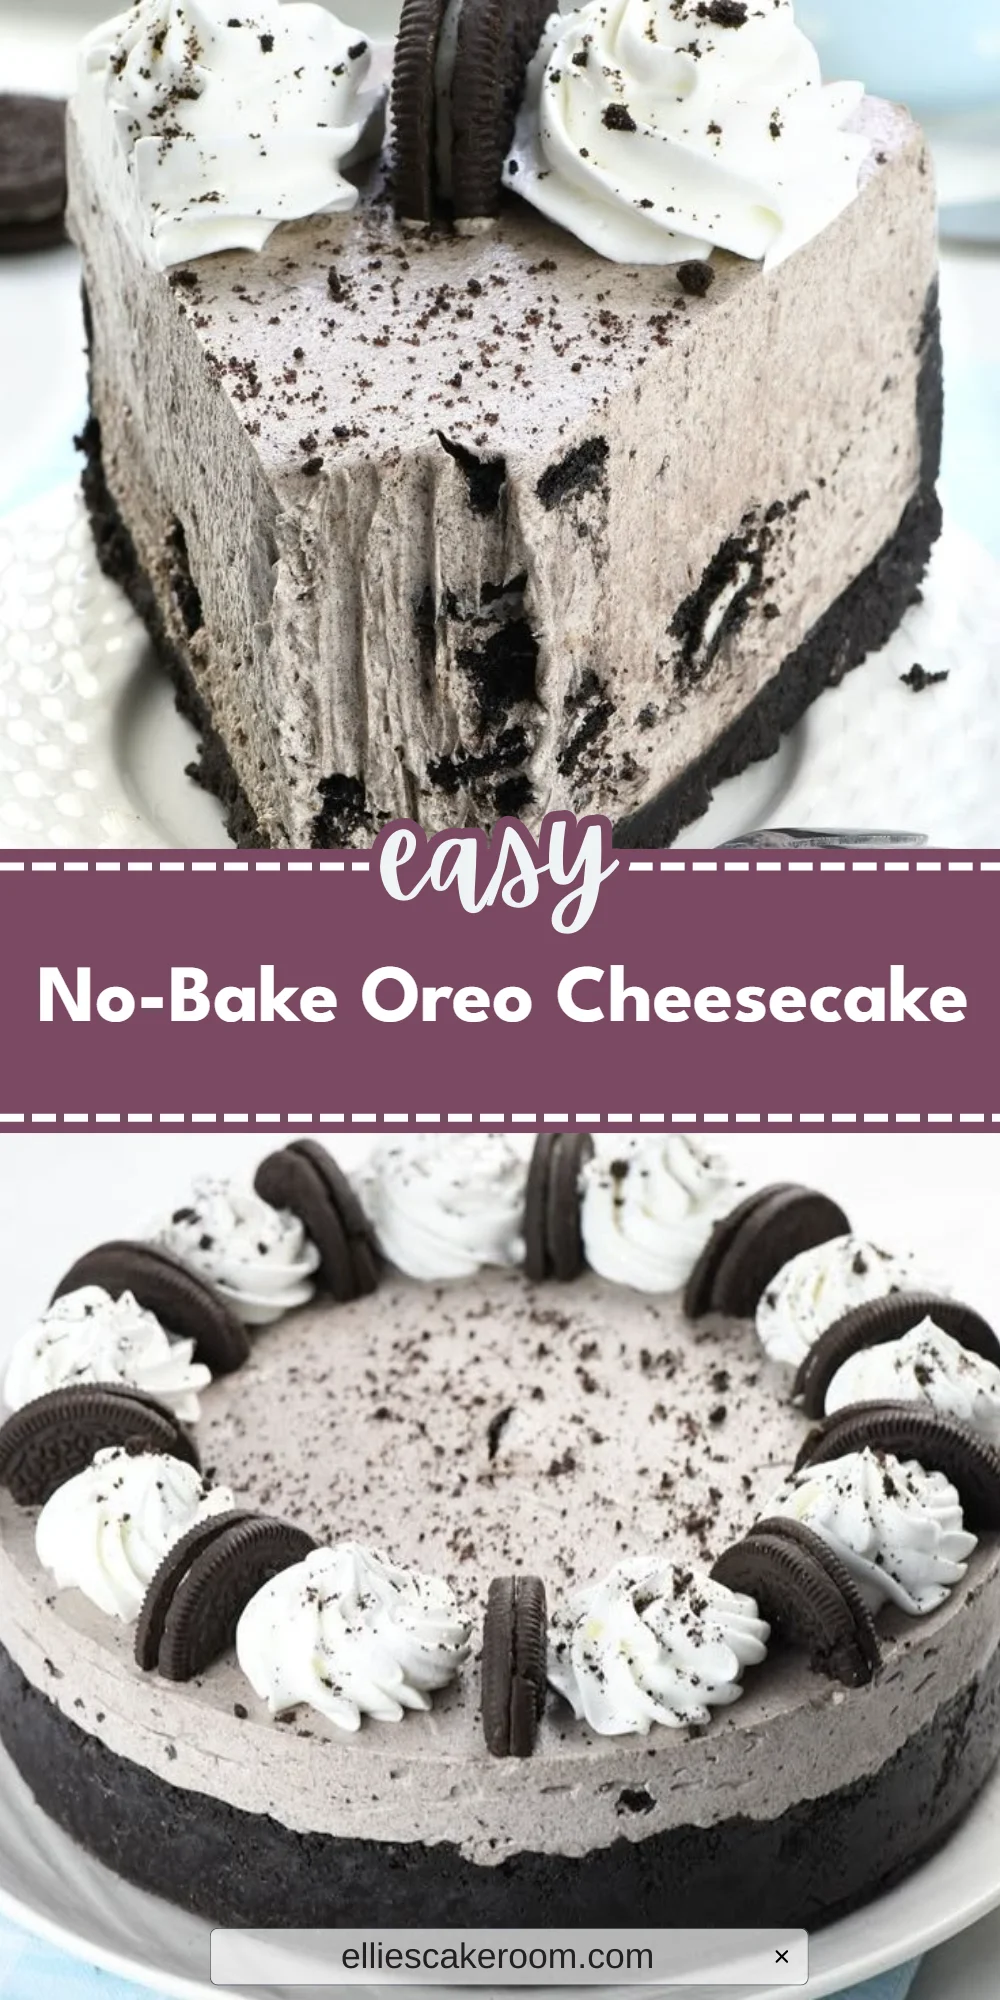
Indulging in a rich, creamy dessert can transform any day into a special occasion. The No-Bake Oreo Cheesecake is a delightfully easy recipe that takes just a few hours to set, making it perfect for any gathering. Its combination of smooth cream cheese and crushed Oreo cookies guarantees a luscious flavor and texture that will leave everyone coming back for seconds.
This recipe is ideal for anyone looking to impress guests with minimal effort. It’s a fantastic choice for birthdays, holiday celebrations, or simply a sweet treat for yourself. You can prepare it in advance and store it in the fridge, ensuring you have a delicious dessert ready to serve when needed.
Why You’ll Love This Recipe
- The Oreo crust provides a crunchy texture that perfectly contrasts with the creamy filling.
- It requires no baking, making it simple and quick to prepare.
- The whipped cream adds an airy lightness to each bite.
- Chilling the cheesecake enhances its flavor and sets the perfect consistency.
What You’ll Need
Gather the following ingredients for this no-bake treat:
For the Crust
- 24 Oreo cookies, crushed
- 1/2 cup unsalted butter, melted
For the Filling
- 2 cups cream cheese, softened
- 1 cup powdered sugar
- 1 teaspoon vanilla extract
For Topping
- 1 cup heavy whipping cream
Use gluten-free Oreos for a gluten-free version.
Substitutions & Swaps
- Coconut oil for unsalted butter
- Cream cheese can be replaced with Greek yogurt
- Substitute granulated sugar for powdered sugar
How to Make It
Making this cheesecake is straightforward and rewarding.
1. Prepare the crust
Mix the crushed Oreo cookies with melted butter until well combined. Press the mixture into the bottom of a 9-inch springform pan to form the crust.
2. Make the filling
Beat the cream cheese, powdered sugar, and vanilla extract until smooth.
3. Whip the cream
Whip the heavy cream until stiff peaks form. Gently fold the whipped cream into the cream cheese mixture, being careful not to deflate it.
4. Assemble the cheesecake
Pour the filling over the Oreo crust and spread it evenly.
5. Chill the cheesecake
Refrigerate for at least 4 hours or until firm. This chilling time is crucial for the texture.
6. Serve and enjoy
Slice your cheesecake, serve chilled, and enjoy the delicious, creamy goodness!
How to Store It
Fridge: Store in an airtight container for up to 5 days.
Freezer: Yes, store in a freezer-safe container for longer shelf life.
Reheat: No reheating necessary; serve cold.
Tips for Best Results
- Ensure your cream cheese is at room temperature for a smoother filling.
- Use a springform pan for easy removal and presentation.
- Taste before serving; adjust sweetness if necessary.
- Chill overnight for the best texture and flavor.
Serving Suggestions
- Top with chocolate sauce or fresh berries for added flavor.
- Serve with a dollop of whipped cream on each slice.
- Pair with a cup of coffee or dessert wine for a luxurious treat.

Leave a Comment